How To Make Graham Crackers From Scratch
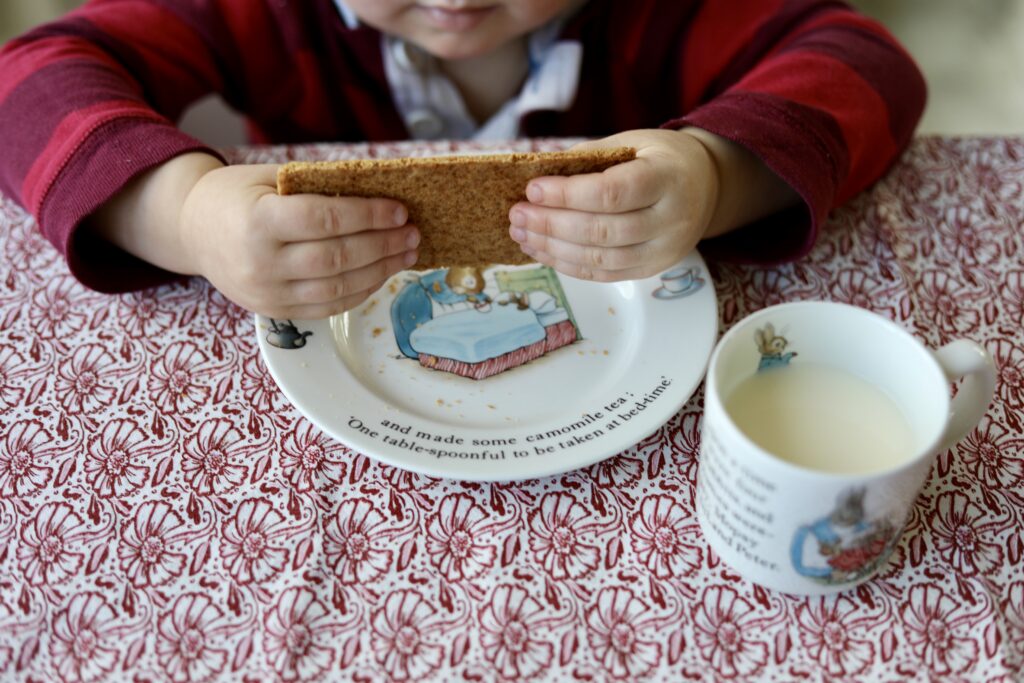
Graham crackers are one of those foods that seems to automatically transport you back to your childhood. Whether using for s’mores or just to dip into a large glass of milk, a nostalgic staple that can be used in endless ways.
Unfortunately, many graham crackers you’ll find at the grocer today are filled with unnecessary and not-so-healthy ingredients. I can never seem to justify buying them due to their ingredients so I choose to make my own. Making them from scratch is surprisingly simple and fun to make. They also taste oh so much better than any you’ll find at the grocer! These graham crackers have a good snap and crunch with the flavors we all know and love.
The History of the Graham Cracker
Just for fun – the graham cracker was invented by Sylvester Graham in 1829. Graham was a was an American Presbyterian minister and dietary reformer. Often referred to as the “Father of Vegetarianism” in America, Graham created them as a bland cracker to promote a vegetarian diet and to combat immorality and promote health. The dull and bland taste was supposedly comparable to a bran cracker – far different than the taste of the graham cracker we all know and love today!
Traditional graham crackers were made with graham flour – a coarsely ground wheat flour – but since graham flour is hard to come by, all-purpose and regular whole wheat flour are more commonly used. This recipe just uses all-purpose flour for simplicities sake. I also personally find that the taste is very similar to using all-purpose and whole wheat flour.
How to Make Homemade Graham Crackers

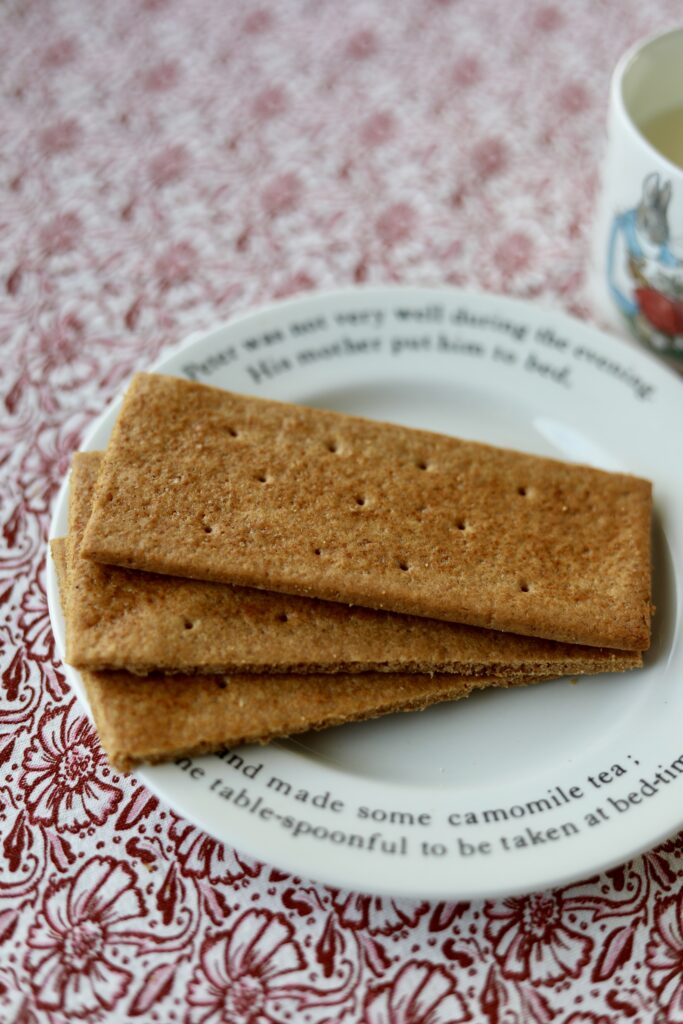
Homemade Graham Crackers
Ingredients
Method
- Combine flour, salt, cinnamon, baking soda, and baking powder into a mixing bowl.
- In a stand mixer, mix the butter, sugars, honey, and vanilla until light and fluffy.
- In two batches sift the flour mixture to the butter mixture, mixing on medium-low speed. After the final addition, the mixture should look crumbly. Knead the mixture together with your hands until a cohesive ball forms. If needed, add a tsp of milk at a time until the dough comes together into a ball.
- Turn the dough onto a piece of plastic wrap and shape into a smooth, square shape. Wrap tightly and refrigerate for at least 1 house or overnight.
- Preheat oven to 300 degrees F. Remove the dough from the refrigerator and let rest at room temperature for about 15 minutes or until softened. It should be close to room temperature but still cool when ready to roll.
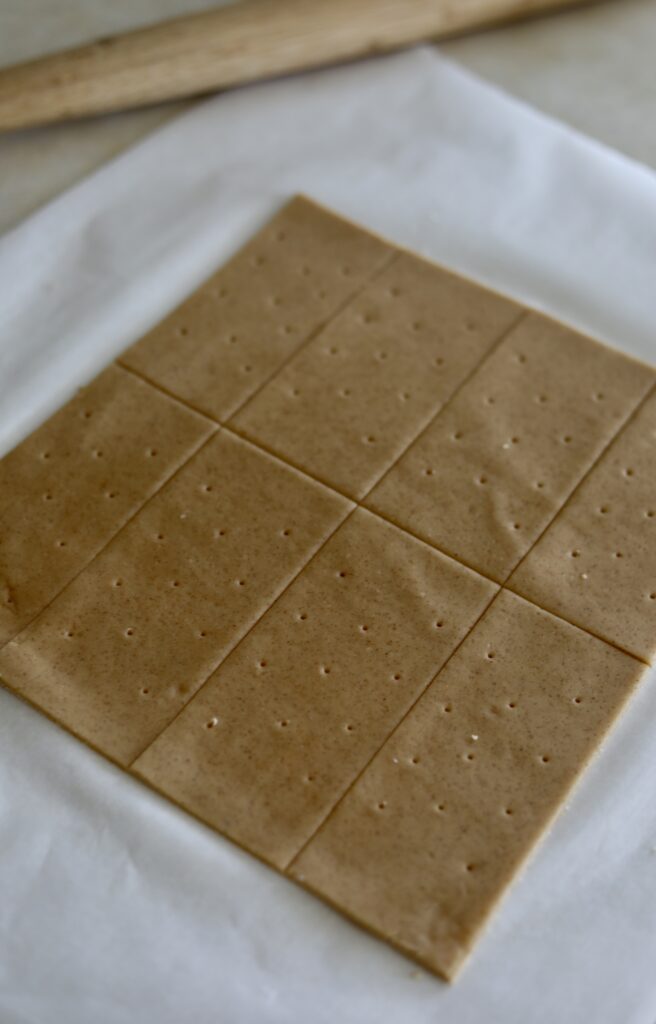
- Lightly flour a sheet of parchment paper. Place the dough in the center and sprinkle lightly with flour. Top with another sheet of parchment paper the same size. Use a rolling pin to roll the dough to be about 1/8 inches thick.
- Using a pizza cutter, trim the four boarders of the dough to have flat edges. Cut the dough into about 2×3-inch rectangles, leaving the cracker touching, side-by-side on the parchment paper. Slide the whole sheet of parchment paper with the dough on it onto a baking sheet.
- Brush the crackers with a light coating of milk being mindful not to brush over the cracks. Poke holes into each cracker with the tip of a fork or if you have a metal meat thermometer, I find this works best 🙂
- Bake for 25-30 minutes, turning the pan halfway through. They should be a medium-dark brown color and crispy.
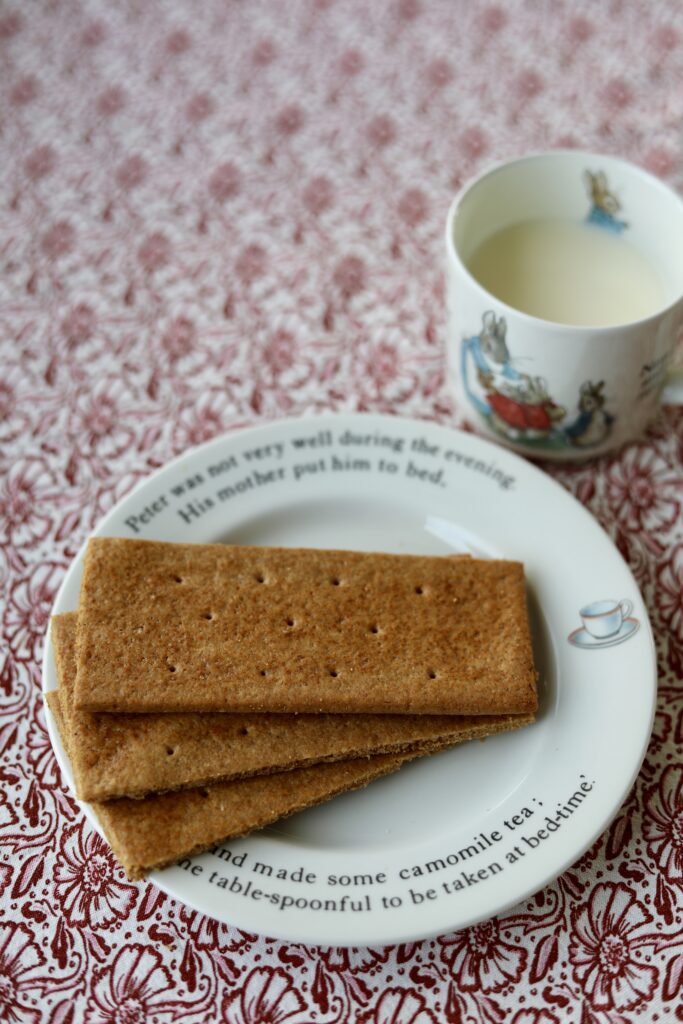
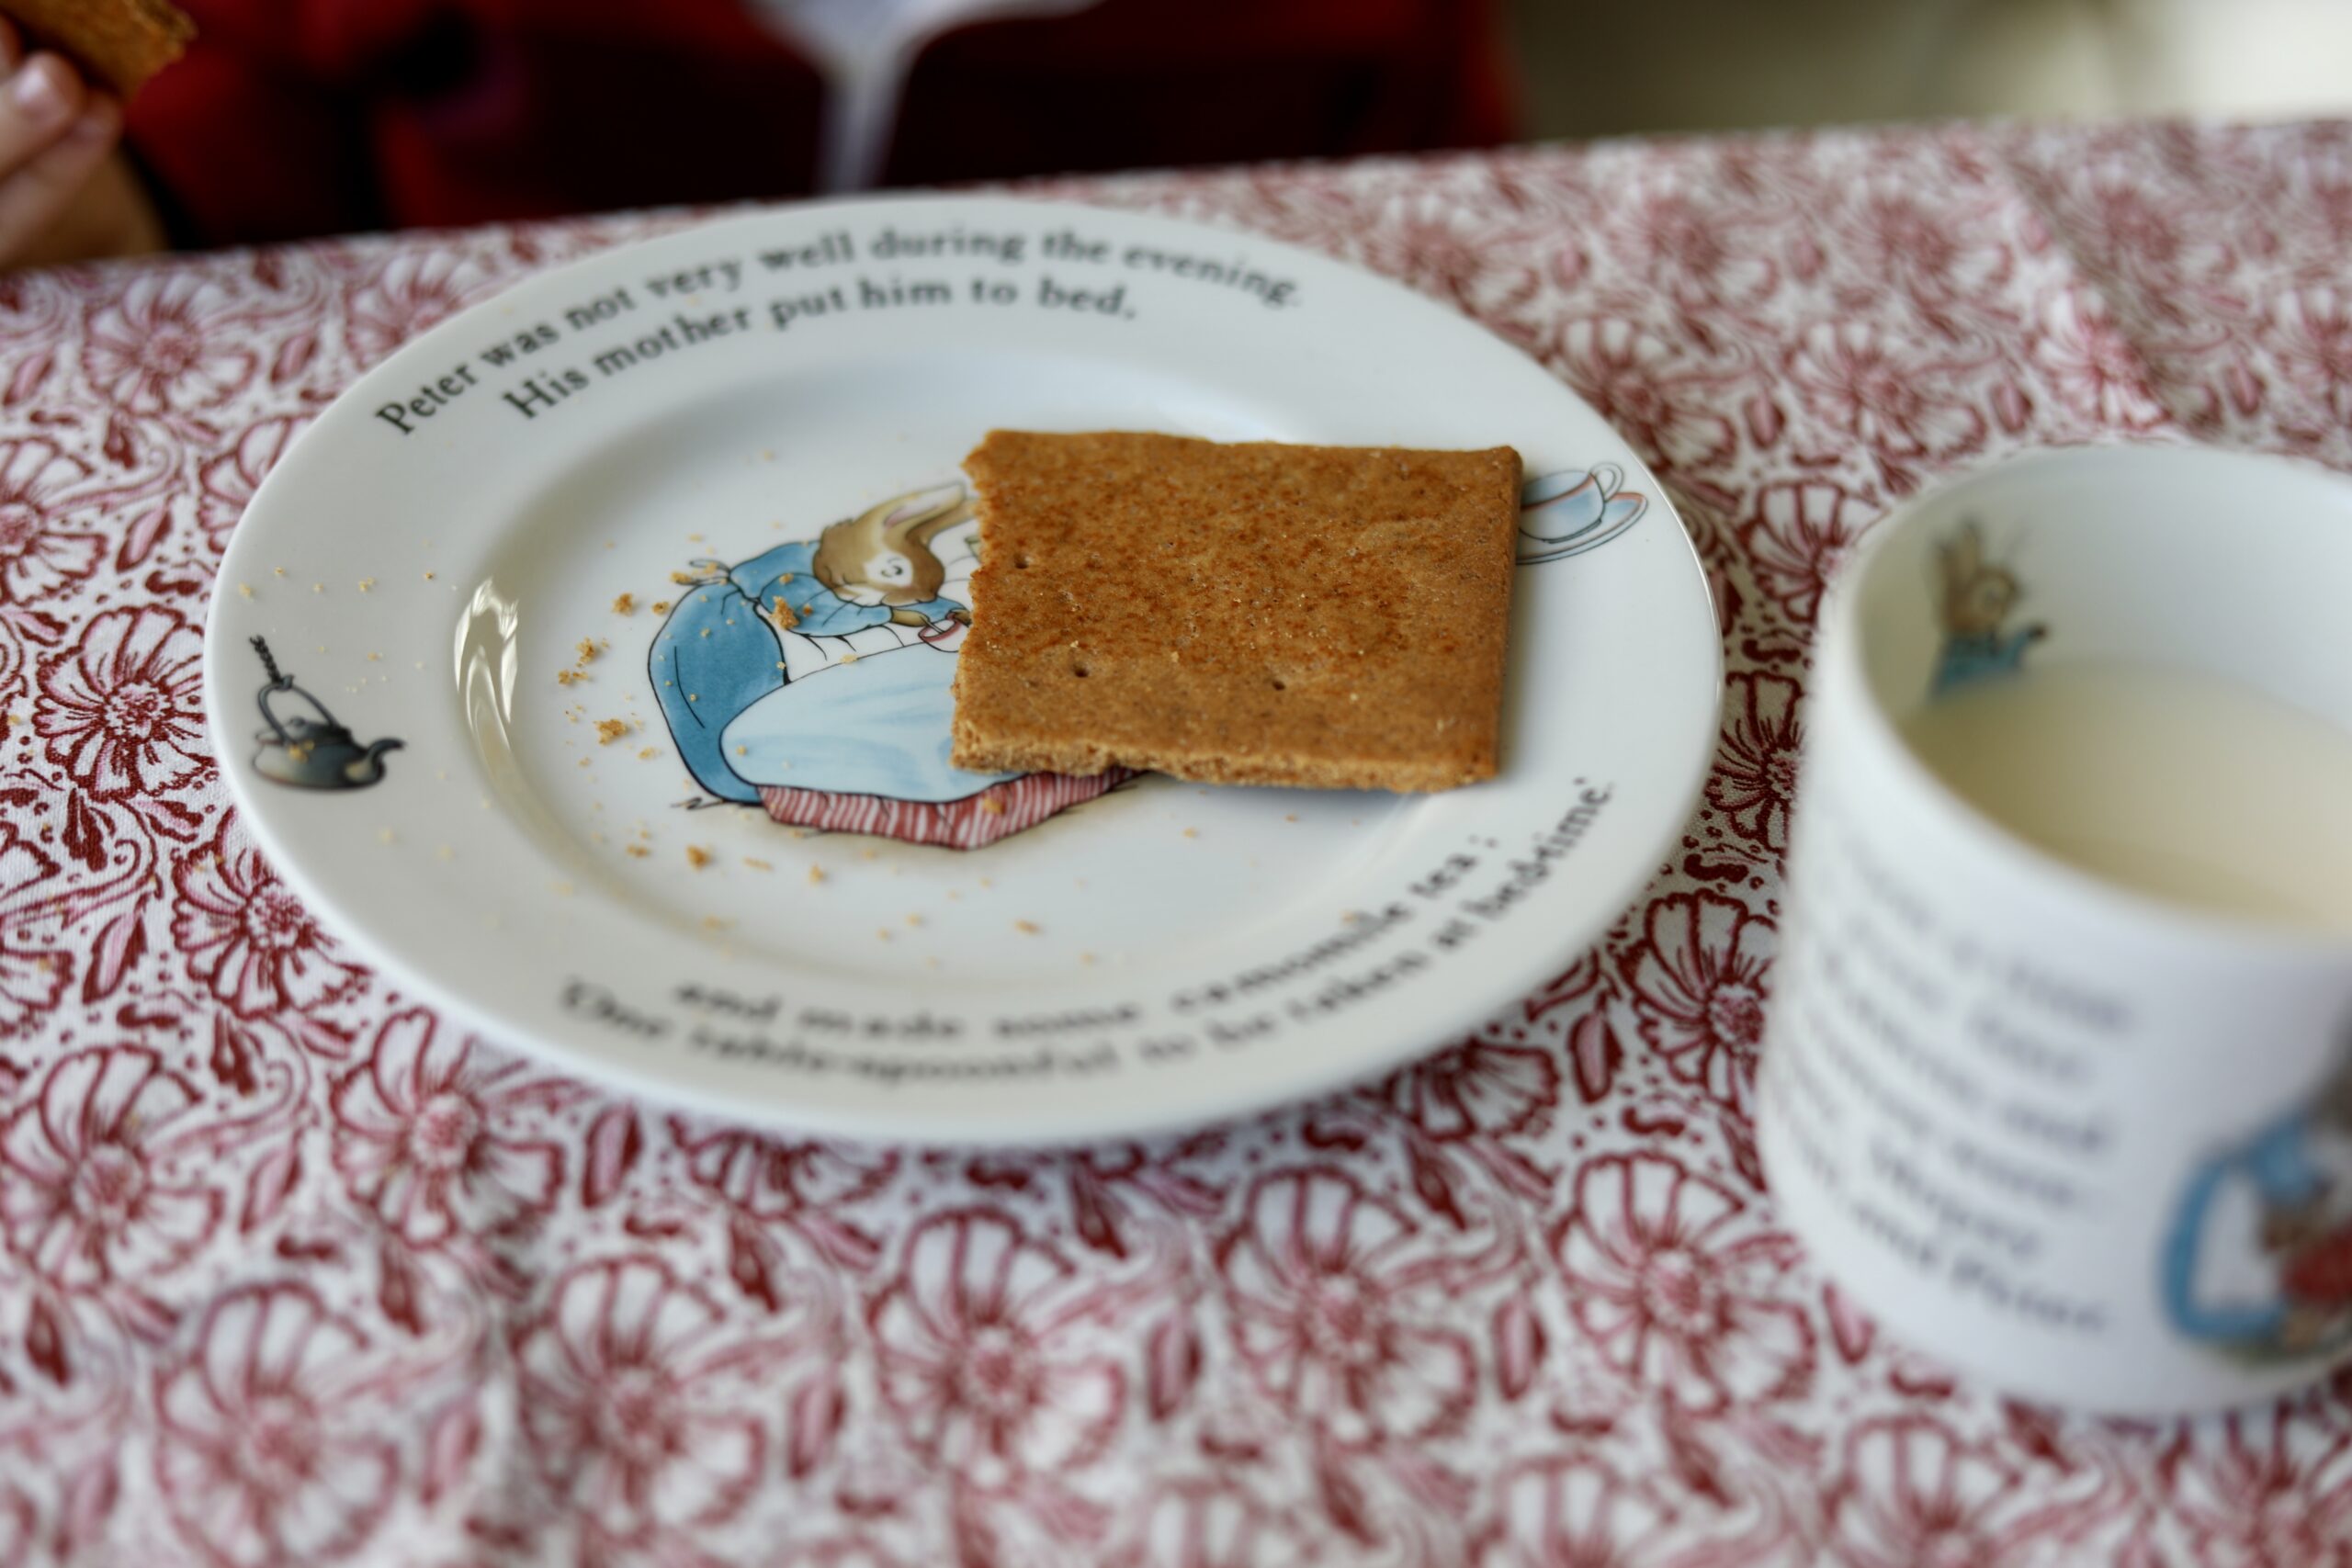
- Let cool for 5 minutes after removing from the oven. Once cool enough to handle but still warm enough to break cleanly, break and transfer to a wire rack to cool completely.
- Enjoy right away or store in an air-tight container for up to a week.